How to create an event
Last updated: 15-06-2024
Summary:
On this page we explain how you, as a Organiziation, can create events in the Ticket Pulse Dashboard. To start creating a event, you must first own a Ticket Pulse account which is completely setup. If you do now own a Ticket Pulse account yet, please follow this manual on how to become a Ticket Pulse event Organizer.
Step 1:
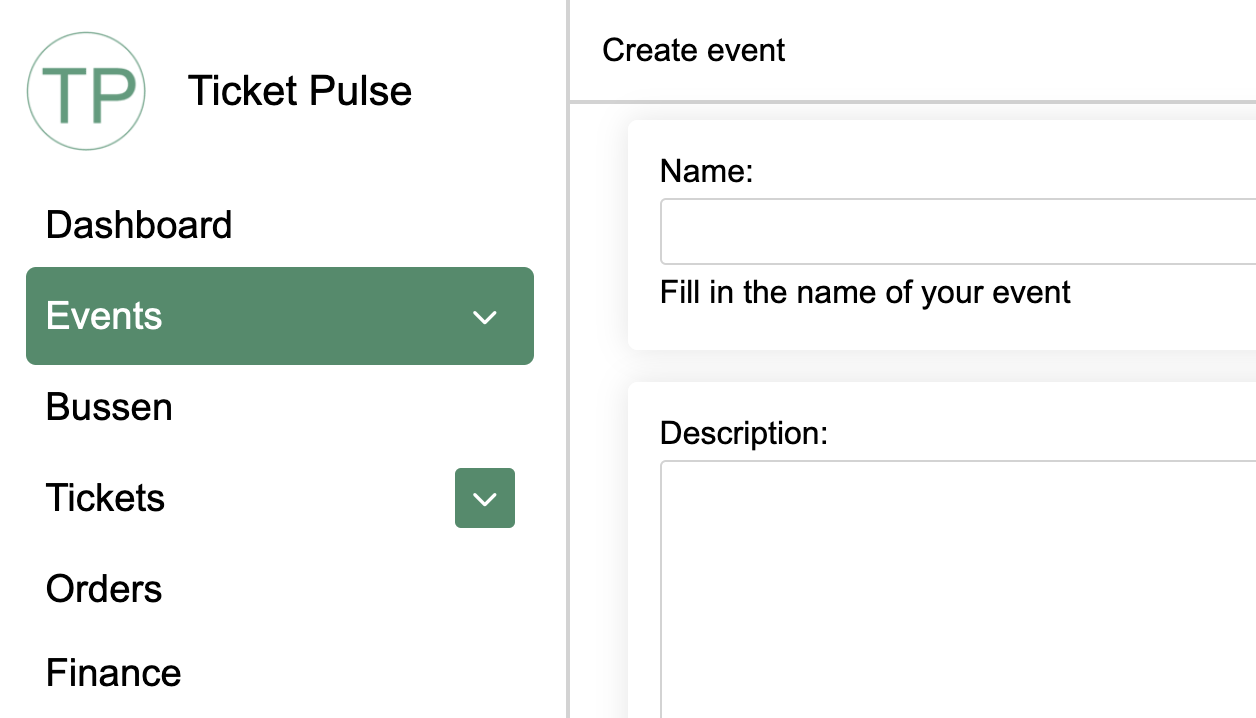
Login on the Ticket Pulse dashboard and go to the Events page.
Step 2:
Click on create event and fill in the information about your event.
Available fields:
Name: Name of the event
Description: Description for the event
Start & end date: Description for the event
Location: Location of the event
Price: Price of all the tickets when Manage Price per Ticket is disabled
Stock: Amount tickets available for this event if Manage stock per ticket is disabled
Manage stock per ticket: Manage amount tickets available per ticket or per event
Manage price per ticket: Manage price per ticket or per event
Status: Status of this event. Available options: Public, Private, Sold out
Password: Password used to buy tickets for this event if status is private
Is Featured: Feature this event. When event is set as featured, this event will be shown first on every page.
Thumbnail: Thumbnail used for this event.
Category: Event category
Artist: Artists on this event
Genre: Genres of this event
Additional settings: Save extra data for this event. This data will be saved in your website and can be used to display element on the single event page. Follow this guide to setup additional settings.
Step 3:
Click on save. When saved your event will be visible on the Ticket Pulse website and the Ticket Pulse App. If you have setup websites, the events will be created on there aswell.
If you have any questions about this guide or subject, don't hesitate and use our contact form, and we will be helping you the best as possible